Rock-Topper 5 watt RF AmpPrice: $80.00 |
|
 |
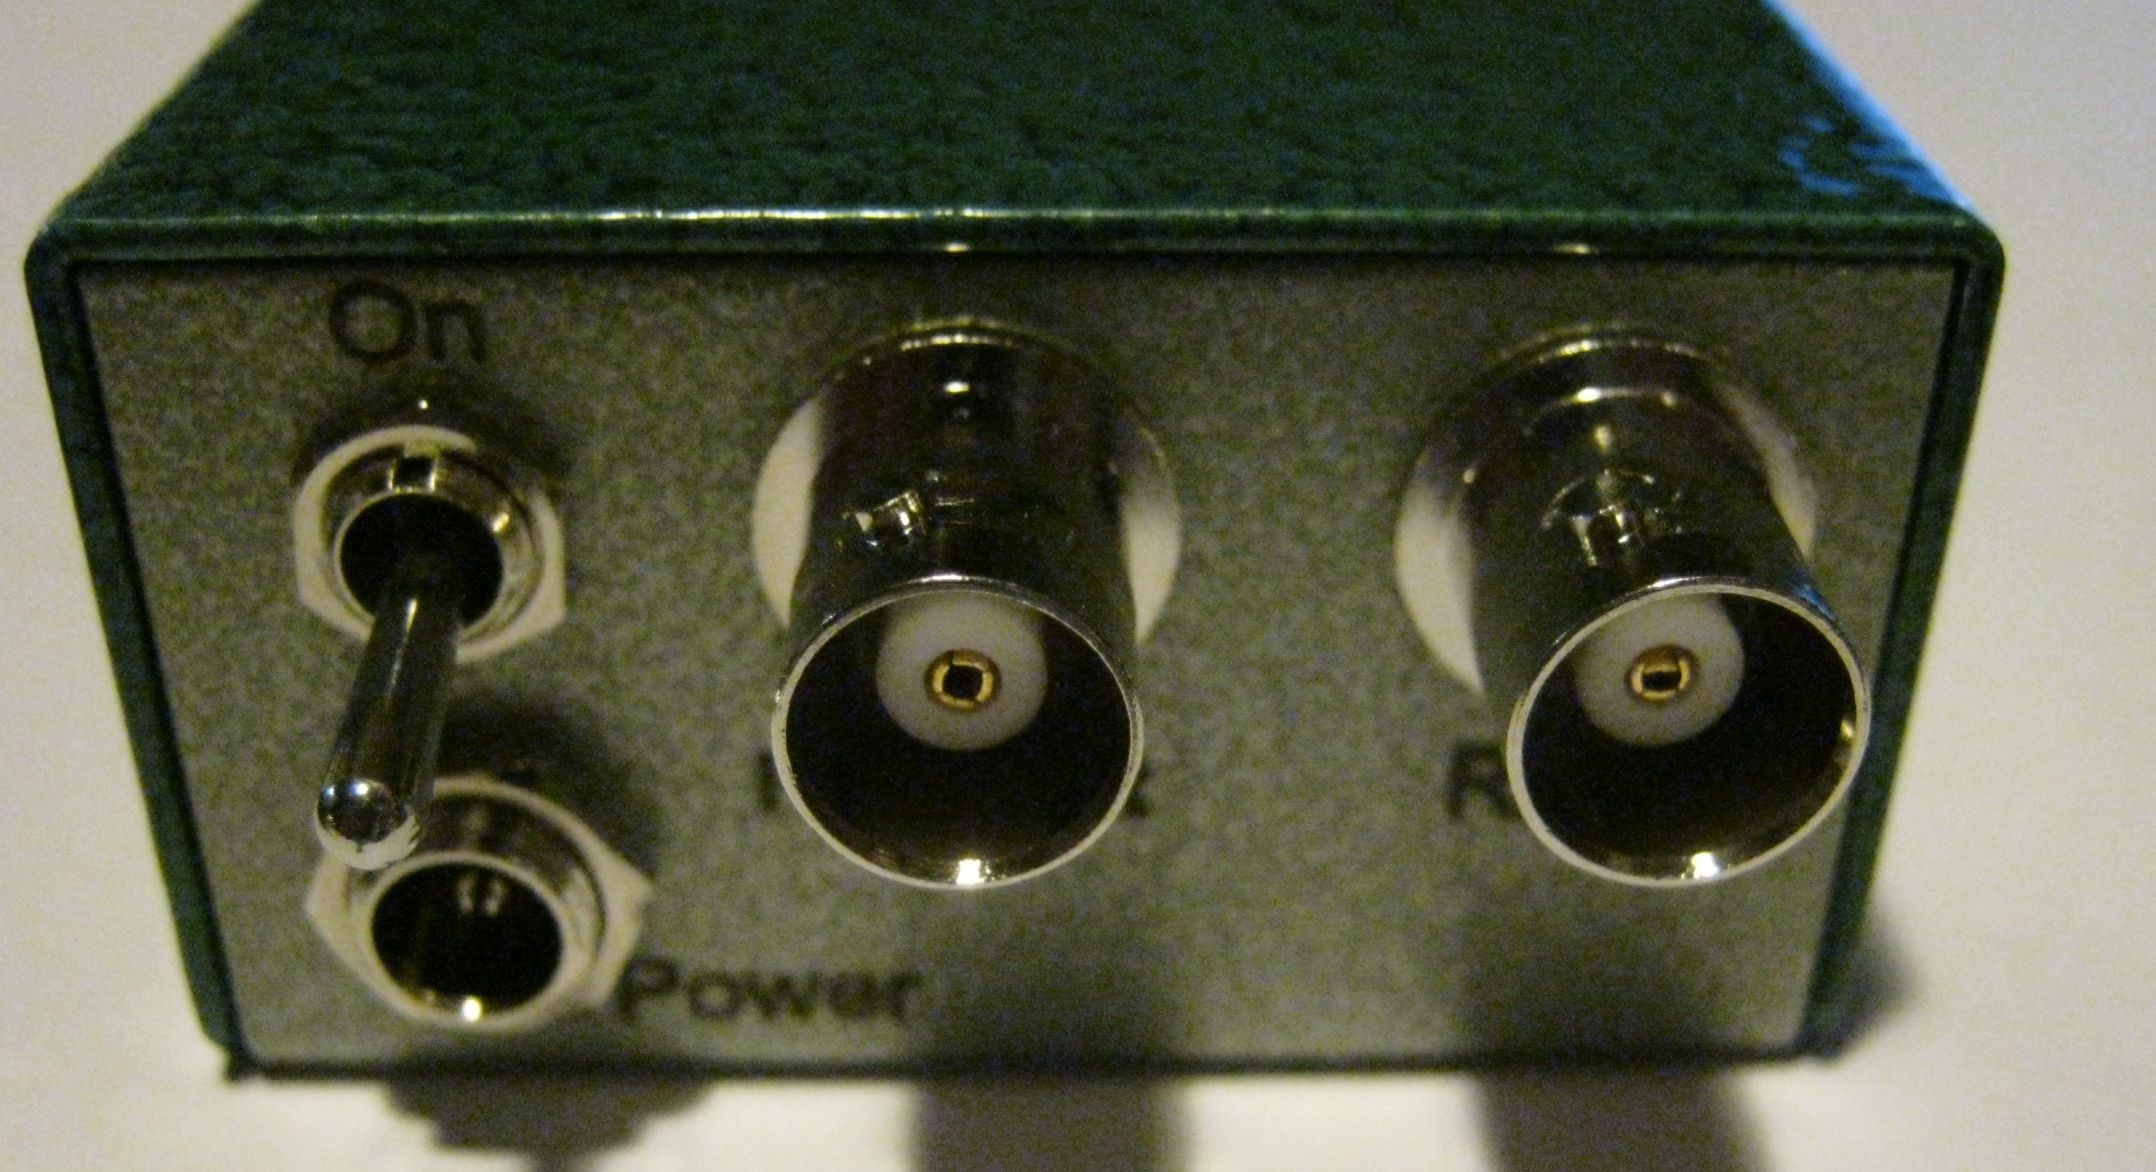 |
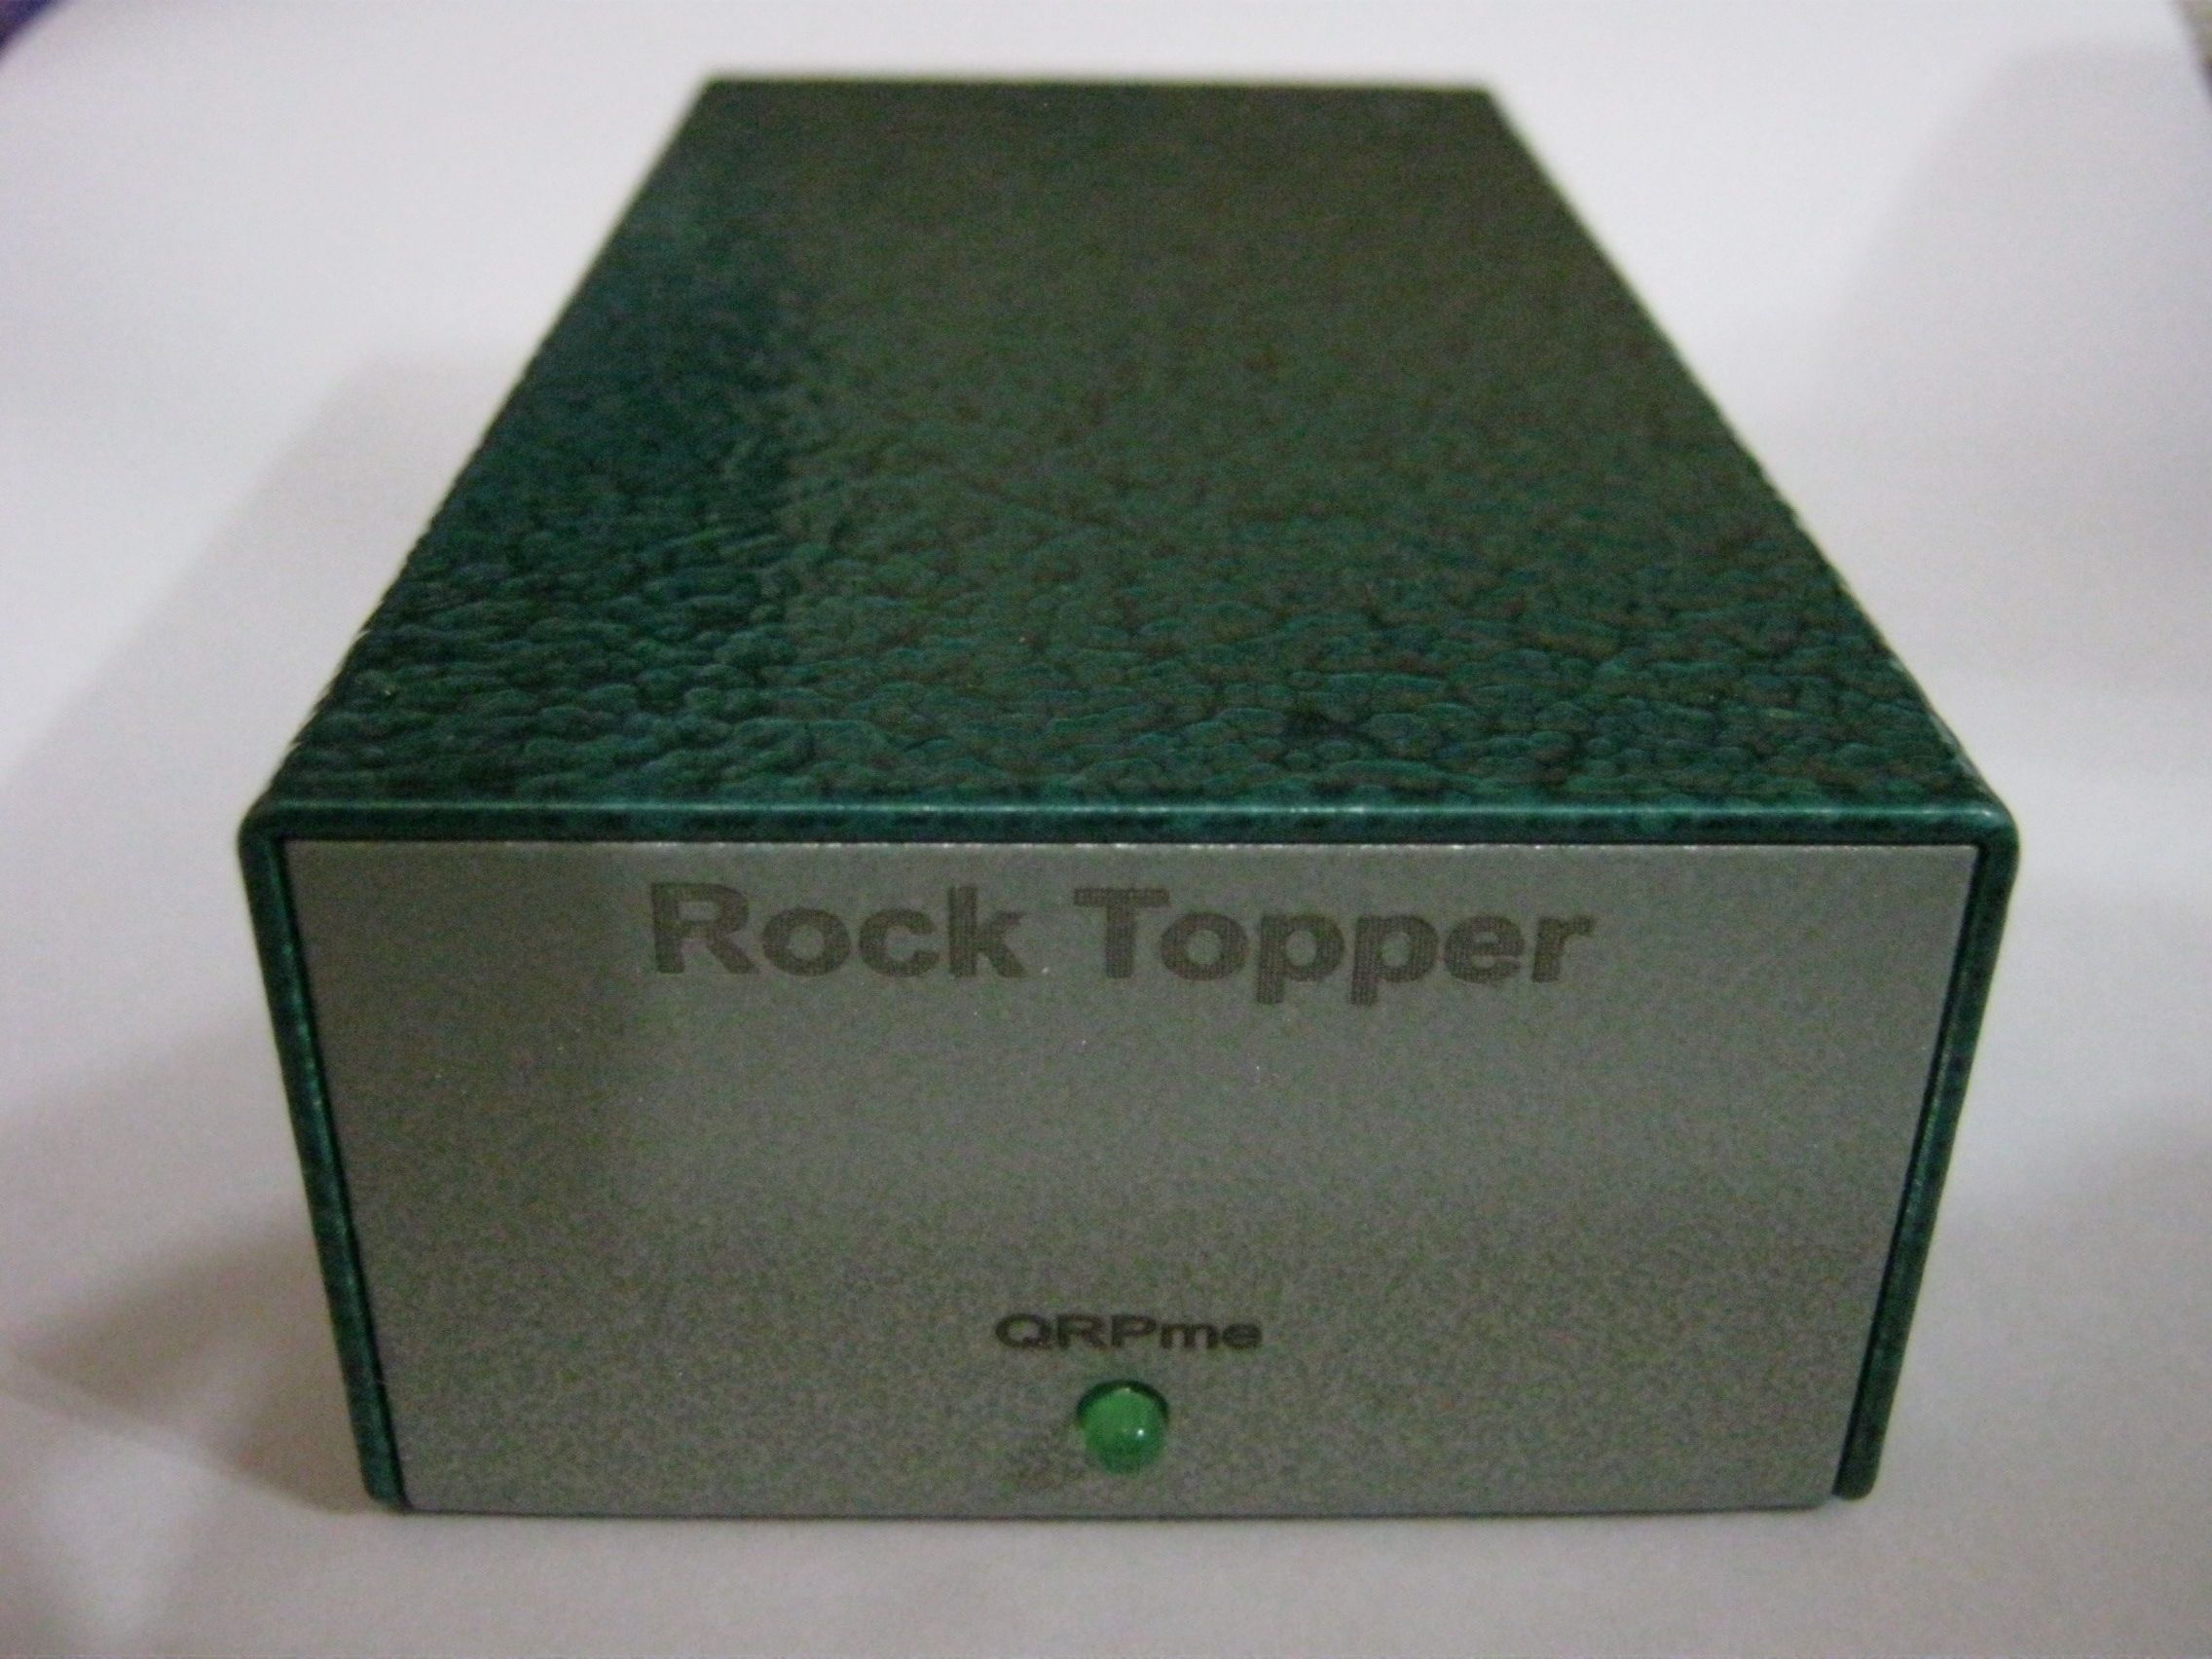
The Rock-Topper 5 watt RF amplifier kit is a custom packaged version of QRPmes tried & true Texas Topper RF Amplifier kit. The kit includes the Texas Topper parts and circuit board but also includes a special low profile band module board AND LMB CR-425 enclosure to mate up with the Rockmite][ transceiver kit. ALL the necessary I/O components: 2 BNC connectors, On/Off switch, power connector and jack and the LED indicator are included with the kit. The enclosure has all holes pre-drilled and is powder coated two-tone hammer-tone green and laser engraved; A PERFECT match the new Rockmite][ *standard* two-tone green enclosure.
If you already have a Topper amp in your lineup, a Upgrade kit with just the enclosure and special low profile band module board & connector is also available. You would supply the Topper board, I/O connectors and band module components.
HISTORY:
My friend and Elmer Chuck Carpenter, W5USJ, designed a 5 watt RF amplifier to take his original Rockmite transceiver to a full 5 watts. He called it a Texas topper.
He allowed me to turn his design into a tuna can kit that I sell on my QRPme site as the Tuna Tunah amplifier kit. One of the unique features of the Tuna Tunah pcb was that the core amplifier circuit was laid out in a rectangular area in the center of the pcb.The area was the exact same footprint as the Rockmite pcb and outlined with v-scores.
So the amp circuit can be used as is on a tuna can or snapped on the v-scores to make an amp with the same footprint as the Rockmite.
Both formats are offered on the QRPme website as the Tuna Topper and Texas Topper kits. QRPme also offered powder coated, machined and engraved enclosures for both kits until our QRP friendly machinist retired. In my extensive search for a alternative enclosure, I recently found a source for affordable and cool enclosures BUT: the enclosures require specific sized pcbs to fit inside the included slots. So new pcbs had to designed to use the NEW enclosures. Since I had to lay out a new pcb and it was indeed larger than to original Rockmite footprint, I now had the opportunity to replace all those wired external connectors, switches etc with pcb mounted parts. The new Rockmite][++ and RockTopper][++ kits have all the connectors, switches, LED etc mounted directly on the pcb so they are much easire to build.
In the case of the Rockmite][++, since I was going to lay out a new pcb, I decided to make some changes that I have wanted to incorporate for many years! Like many of my tuna can kits, the Rockmite][++ now has band modules so the basic kit is no longer a monobander. The RockTopper had a band module from the beginning but the new band module is different.
IMPORTANT:
The circuits for both Rockmite][++ & RockTopper][++ are exactly the same. Only the component selection and placement has changed.The Rockmite][++ has new connectors for the new band modules and all the band specific parts are relocated to the 2 band modules. The RockTopper][++ has the exact same components including the band module parts. Again, all the input/output connections have been changed to pcb mounted parts.
Unfortunately, the original documentation for the Tuna/Texas Topper kit was written by Chuck Carpenter, W5USJ, who is now a silent key. It was written using a very esoteric documentation system that he inherited from his professional documentation dsys at Xerox. I have the original file but nothing to edit it with. Another issue is that Chuck created the last document in a cover everything style so it is kinda confusing as to what to do when due to all the options covered. I will try to create a couple of new simplified guides for the newest ][++ versions of the kits.
Documentation